在寻找改进事物的方法时,实际使用自己的工具构建一些真实的东西是无与伦比的。
过去几个月,我们一直在开发 Catalyst,并对 Headless UI 进行了数十项改进,让你写更少的代码,使开发者体验变得更好。
我们刚刚发布了 React 的 Headless UI v2.0,这是所有这些工作的结晶。
以下是所有最新的特性:
通过从 npm 安装最新版本的 @headlessui/react,将其添加到你的项目中:
npm install @headlessui/react@latest如果你正在从 v1.x 升级,请查看 升级指南,了解更多关于变更的信息。
内置锚点定位
我们已经将 Floating UI 直接集成到 Headless UI 中,因此你再也不必担心下拉菜单超出视野或被其他屏幕元素遮挡。
在 Menu、Popover、Combobox 和 Listbox 组件上使用新的 anchor prop 指定锚点定位,然后使用 CSS 变量如 --anchor-gap 和 --anchor-padding 微调位置:
上下滚动以查看下拉菜单位置变化
import { Menu, MenuButton, MenuItem, MenuItems } from "@headlessui/react";function Example() { return ( <Menu> <MenuButton>选项</MenuButton> <MenuItems anchor="bottom start" className="[--anchor-gap:8px] [--anchor-padding:8px]" > <MenuItem> <button>编辑</button> </MenuItem> <MenuItem> <button>重复</button> </MenuItem> <hr /> <MenuItem> <button>归档</button> </MenuItem> <MenuItem> <button>删除</button> </MenuItem> </MenuItems> </Menu> );}这个 API 的优势在于,你可以通过使用像 sm:[--anchor-gap:4px] 的工具类来在不同的断点上调整样式。
请查看每个组件的 锚点定位文档 获取所有详细信息。
新的复选框组件
我们添加了一个新的无头 Checkbox 组件,以补充我们现有的 RadioGroup 组件,使构建完全自定义的复选框控件变得更加简单:
This will give you early access to any awesome new features we're developing.
import { Checkbox, Description, Field, Label } from "@headlessui/react";import { CheckmarkIcon } from "./icons/checkmark";import clsx from "clsx";function Example() { return ( <Field> <Checkbox defaultChecked className={clsx( "size-4 rounded border bg-white dark:bg-white/5", "data-[checked]:border-transparent data-[checked]:bg-blue-500", "focus:outline-none data-[focus]:outline-2 data-[focus]:outline-offset-2 data-[focus]:outline-blue-500", )} > <CheckmarkIcon className="stroke-white opacity-0 group-data-[checked]:opacity-100" /> </Checkbox> <div> <Label>启用测试功能</Label> <Description>这将使你能够提前使用我们正在开发的任何新功能。</Description> </div> </Field> );}复选框可以是受控或不受控的,并且可以自动与隐藏的输入同步状态,以良好地适配 HTML 表单。
请查看 复选框文档 了解更多信息。
HTML 表单组件
我们添加了一整套新组件,它们简单地包装了原生表单控件,但自动完成 ID 和 aria-* 属性的连接等繁琐工作。
以下是在没有这些新的 Headless UI v2.0 组件之前,构建一个简单 <input> 字段,并与适当的 <label> 和描述关联的样子:
<div> <label id="name-label" for="name-input"> 姓名 </label> <input id="name-input" aria-labelledby="name-label" aria-describedby="name-description" /> <p id="name-description">使用真实姓名,以便人们能识别你。</p></div>而使用这些新组件的情况如下:
import { Description, Field, Input, Label } from "@headlessui/react";function Example() { return ( <Field> <Label>姓名</Label> <Input name="your_name" /> <Description>使用真实姓名,以便人们能识别你。</Description> </Field> );}新的 Field 和 Fieldset 组件还像原生的 <fieldset> 元素一样级联禁用状态,因此你可以轻松地一次禁用整个控件组:
选择一个国家以查看区域字段变为启用状态
import { Button, Description, Field, Fieldset, Input, Label, Legend, Select } from "@headlessui/react";import { regions } from "./countries";export function Example() { const [country, setCountry] = useState(null); return ( <form action="/shipping"> <Fieldset> <Legend>配送详情</Legend> <Field> <Label>街道地址</Label> <Input name="address" /> </Field> <Field> <Label>国家</Label> <Description>我们目前仅向北美地区发货。</Description> <Select name="country" value={country} onChange={(event) => setCountry(event.target.value)}> <option></option> <option>加拿大</option> <option>墨西哥</option> <option>美国</option> </Select> </Field> <Field disabled={!country}> <Label className="data-[disabled]:opacity-40">州/省</Label> <Select name="region" className="data-[disabled]:opacity-50"> <option></option> {country && regions[country].map((region) => <option>{region}</option>)} </Select> </Field> <Button>提交</Button> </Fieldset> </form> );}我们通过在渲染的 HTML 中使用 data-disabled 属性来暴露禁用状态。这使我们能够在不支持原生 disabled 属性的元素(如关联的 <label> 元素)上也暴露该状态,从而便于微调每个元素的禁用样式。
总之,我们在这里添加了 8 个新组件 — Fieldset、Legend、Field、Label、Description、Input、Select 和 Textarea。
有关更多详细信息,请从 Fieldset 文档 开始,并逐步了解其余内容。
改进的悬停、焦点和活动状态检测
使用强大的 React Aria 库中的 hooks,Headless UI 现在为你的控件添加了更智能的 data-* 状态属性,相比于原生 CSS 伪类在不同设备上表现得更加一致:
data-active— 类似于:active,但当从元素上拖动时会消失。data-hover— 类似于:hover,但在触控设备上会被忽略,以避免出现粘滞的悬停状态。data-focus— 类似于:focus-visible,没有来自命令性聚焦的误报。
Click, hover, focus, and drag the button to see the data attributes applied
要了解更多关于为什么使用 JavaScript 应用这些样式很重要的信息,我强烈推荐阅读 Devon Govett 关于该主题的精彩博客系列:
在实际上制作美好的东西方面,网络总是让我感到惊讶需要付出多少努力。
组合框列表虚拟化
我们将 TanStack Virtual 集成到 Headless UI 中,以支持列表虚拟化,当你需要在组合框中放置十万个项目时,正如老板吩咐你的那样。
使用新的 virtual prop 来传入所有项目,并使用 ComboboxOptions 渲染 prop 提供单个选项的模板:
打开组合框并滚动浏览 1,000 个选项
import { Combobox, ComboboxButton, ComboboxInput, ComboboxOption, ComboboxOptions } from "@headlessui/react";import { ChevronDownIcon } from "@heroicons/react/20/solid";import { useState } from "react";const people = [ { id: 1, name: "Rossie Abernathy" }, { id: 2, name: "Juana Abshire" }, { id: 3, name: "Leonel Abshire" }, { id: 4, name: "Llewellyn Abshire" }, { id: 5, name: "Ramon Abshire" }, // ...最多 1000 人];function Example() { const [query, setQuery] = useState(""); const [selected, setSelected] = useState(people[0]); const filteredPeople = query === "" ? people : people.filter((person) => { return person.name.toLowerCase().includes(query.toLowerCase()); }); return ( <Combobox value={selected} virtual={{ options: filteredPeople }} onChange={(value) => setSelected(value)} onClose={() => setQuery("")} > <div> <ComboboxInput displayValue={(person) => person?.name} onChange={(event) => setQuery(event.target.value)} /> <ComboboxButton> <ChevronDownIcon /> </ComboboxButton> </div> <ComboboxOptions> {({ option: person }) => ( <ComboboxOption key={person.id} value={person}> {person.name} </ComboboxOption> )} </ComboboxOptions> </Combobox> );}请查看新的 虚拟滚动文档 了解更多。
新网站及改进文档
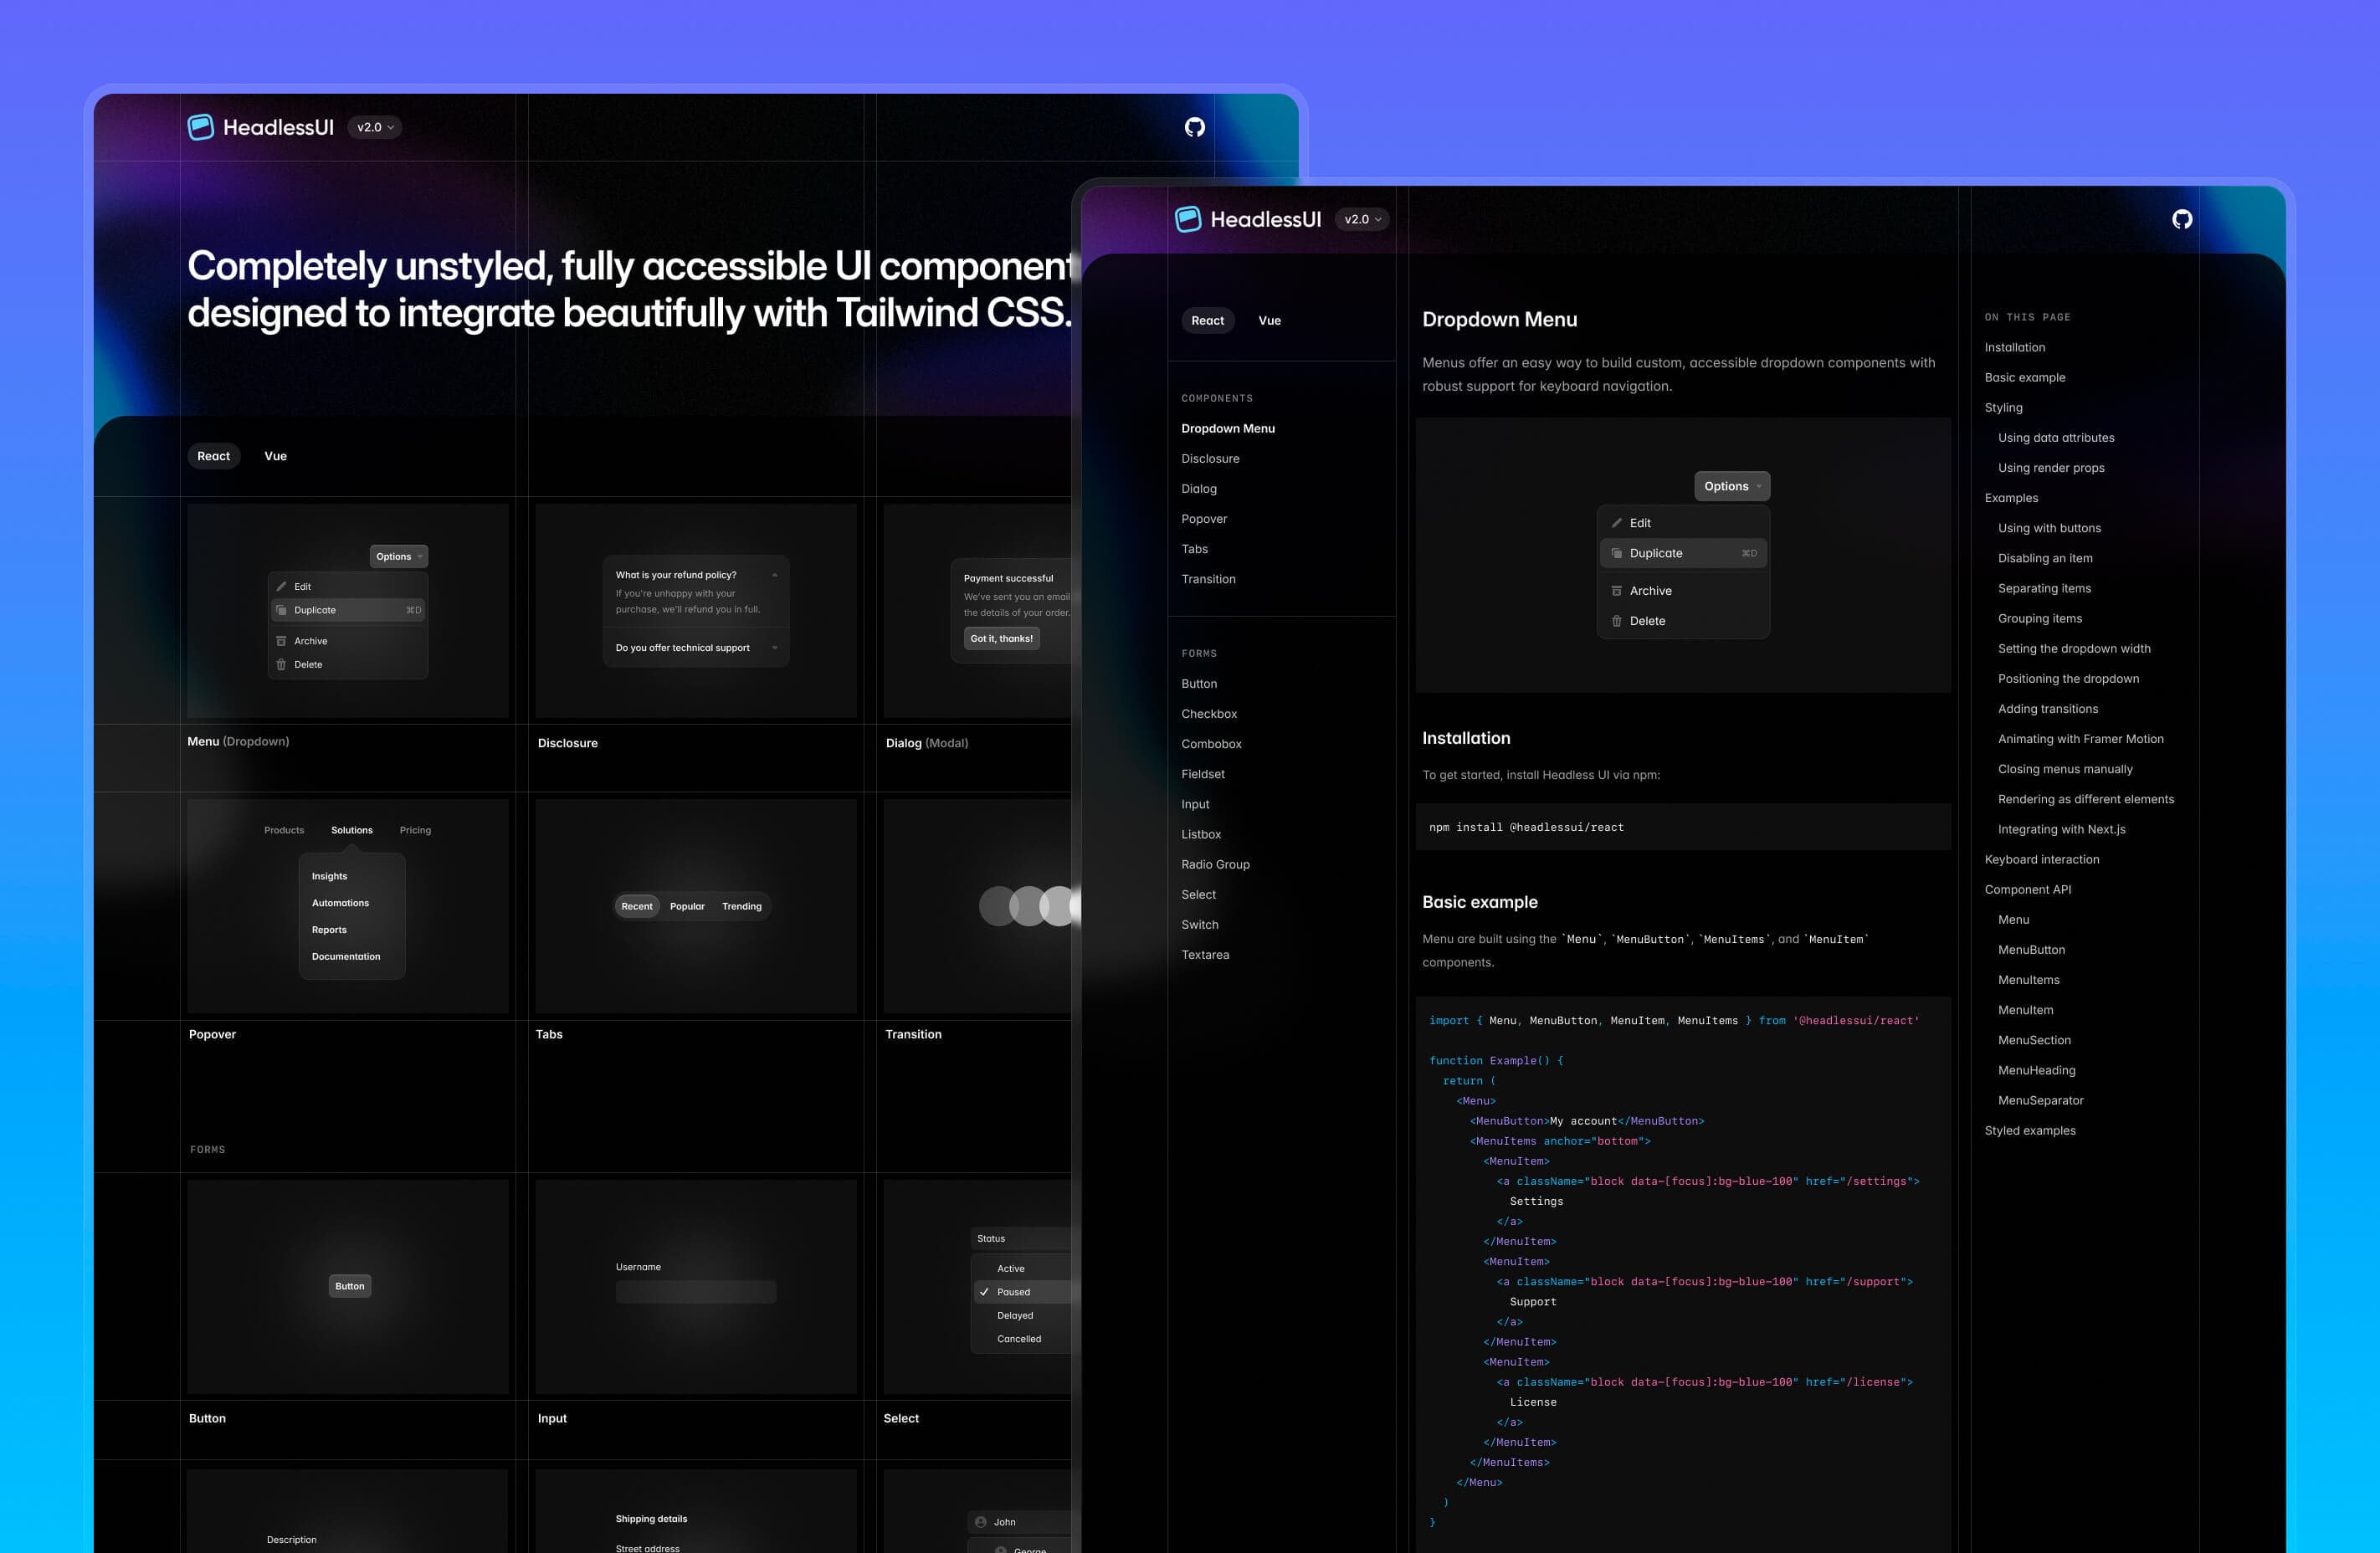
为了配合这次重大发布,我们还大幅改进了文档,并为网站换上了新面貌:

请访问新的 headlessui.com 来查看!